8.6.2025
The Science of Bike Fit: Optimizing Comfort and Power Output
Feeling drained and uncomfortable after a ride? Your bike fit could be the problem. A poor fit can hinder power, slow progression and even lead to injury.
Whether you're chasing endurance, speed or plain old comfort on your daily commute, the right bike fit can make all the difference.
From saddle height to handlebar reach, bike fit is both an art and a science. Read our bike fit guide to ride longer, feel stronger and avoid injury.
Key takeaways at a glance:
Proper bike fit boosts power, efficiency and long-term comfort
Small adjustments in saddle height, reach and cleat position go a long way
Road, mountain and triathlon bikes each have unique fitting requirements
Comfort isn’t a luxury. It’s a performance tool
Why Proper Bike Fit Matters: The Science
A good bike fit isn’t just a ‘nice to have’. It’s essential. Poor fit drains energy, increases the risk of injury and can derail your progress. Proper fit, on the other hand, helps you ride efficiently, recover faster and enjoy the journey.
Pro Tip: Your bike should feel like an extension of your body.
The Link Between Fit, Comfort and Performance
Comfort and performance go hand in hand, and it all starts with how your body interacts with your bike. A well-fitted bike supports healthy biomechanics, encouraging optimal muscle activation and joint alignment with every pedal stroke.
When your saddle height is dialed in, your legs can extend efficiently, reducing strain on your knees. Proper reach and stack measurements keep your spine neutral and your weight distributed, helping you maintain posture and generate power with ease.
A precise bike fit also reduces the risk of injuries from joint and muscle overuse.
Signs Your Bike Doesn’t Fit You
Wondering if your bike fit is off? Here are some common red flags:
Knee, neck or lower back pain during or after a ride
Saddle sores from cycling
Hands, crotch or feet falling asleep mid-ride
Feeling too stretched out or cramped
Difficulty generating consistent power
Struggling to maintain cadence
A few centimetres can make all the difference. So, if something feels off, it probably is.
When to Adjust Your Bike Fit
Your body, riding style and goals shift over time and your bike fit should evolve with them.
Revisit your fit when:
You’ve increased your mileage or intensity
You’re recovering from injury or coming back to cycling after a long break
You’ve changed your shoes, cleats or pedals
You’ve switched bike types
You’re chasing new goals
Pro Tip: Check your fit once or twice a season, especially if something feels off.
How Should a Bike Fit? Key Measurements Explained
A proper bike fit ensures your bike setup matches your body geometry, flexibility and riding goals. It includes adjusting your saddle height and position, handlebar height and reach, crank length, cleat alignment and more.
Bike Fit Measurements Every Rider Should Know
No access to a professional fitter? You can still achieve a solid fit at home with a few tools and a bit of patience.
Before you get started, make sure your tires are pumped up and you have space to test out different adjustments. To test, set your bike up on a stand or ask someone to hold it for you. Failing that, you can lean it against a wall.
Tools you may need:
Allen keys or torque wrench
Plumb line or string with a weight
Tape measure or ruler
Smartphone with fit apps or goniometer
Bike fit checklist at a glance:
Frame | Check size, standover height, stack and reach |
Saddle | Check size, height, set back and tilt |
Handlebars | Check width, reach and drop |
Crank | Check length |
Cleats | Check size, position and angle |
Frame Size and Standover Height
Bikes are usually sized as S, M or L, or in numbers (the measurement of the top tube length).
When you stand over the bike, there should be 1–2 inches (2.5–5 cm) of clearance between you and the top tube. This gives you room to move safely and comfortably, especially on technical terrain.
For road bikes, you’ll want around 1 inch clearance for straight tubes, and around 2 inches for sloping tubes. Mountain bikers will want a minimum of 2 inches clearance (depending on the suspension)
Remember to wear your cycling shoes to get a precise height.
If you’re buying a new bike online and can’t check in person, measure your inseam and compare it with the bike's standover height. The difference should be 1-2 inches.
Stack, Reach and Body Positioning
These measurements define your vertical and horizontal position on the bike. More stack (vertical) gives you a taller position (good for endurance and comfort), while more reach (horizontal) gives a lower, racier profile. Balance is key.
For road bikes, you’re looking for a 45 degree angle from torso to hips, and a 90 degree angle from torso to arms. Mountain bikers can be a little more relaxed. Allow for a bend in the arms for shock absorption, without having to reach uncomfortably far for the brakes.
Saddle Height
Your saddle is your power base. Too low and you’ll waste energy. Too high and your hips will rock, reducing efficiency and risking strain.
When sitting on the saddle with your heel on the pedal at the lowest point, your leg should be mostly straight, with a slight bend (80-90 percent of your full extension). When clipped in, there should be a slight bend (25–35 degrees) at the knee.
To adjust your saddle, loosen the lever on the seat post and raise or lower as needed. For some bikes, you may need to use a wrench. Tighten up the lever or bolt before riding.
Saddle Setback, Tilt and Position
A neutral tilt, parallel to the ground, works for most riders. Slide the saddle forward or backward until your kneecap is roughly over the pedal axle when the pedals are horizontal.
If it still doesn’t feel right, you might want to upgrade to a wider or narrower saddle that correlates to the distance between your sit bones.
Handlebar Width, Reach & Drop
Comfortable doesn’t mean upright. You want a position that supports your riding goals while keeping your neck, shoulders and hands relaxed. A good test: when gripping the hoods, your elbows should have a slight bend and your back a natural curve. Handlebars should be in neutral or slightly angled up.
If your current handlebars really aren’t working for you, it might be time to swap them for a style, width, reach and drop that’s more suited to you.
Crank Length
Crank length can affect knee comfort and cadence. Shorter riders often benefit from shorter cranks. Your pedal system should also match your riding needs, be it road, MTB or triathlon.
“One thing people tend to overlook is crank length. Anyone who is having back or hip pain may need to consider shorter cranks.” - Nichola Roberts, Physiotherapist at Velophysio in Cycling Weekly
Cleat Size, Position and Angle
Cleats should align the ball of your foot over the pedal axle. Too far forward, and you risk knee or achilles pain. Too far back and you miss out on max power transfer. The centre of the cleat should be in between the two bones on the inside and outside of your foot.
Adjust according to the natural angle your foot lies.
Fit For The Ride: Adjustments by Bike Type
Depending on your discipline or riding style, fit adjustments should vary slightly, but the goal remains the same: optimal comfort and maximum power transfer.
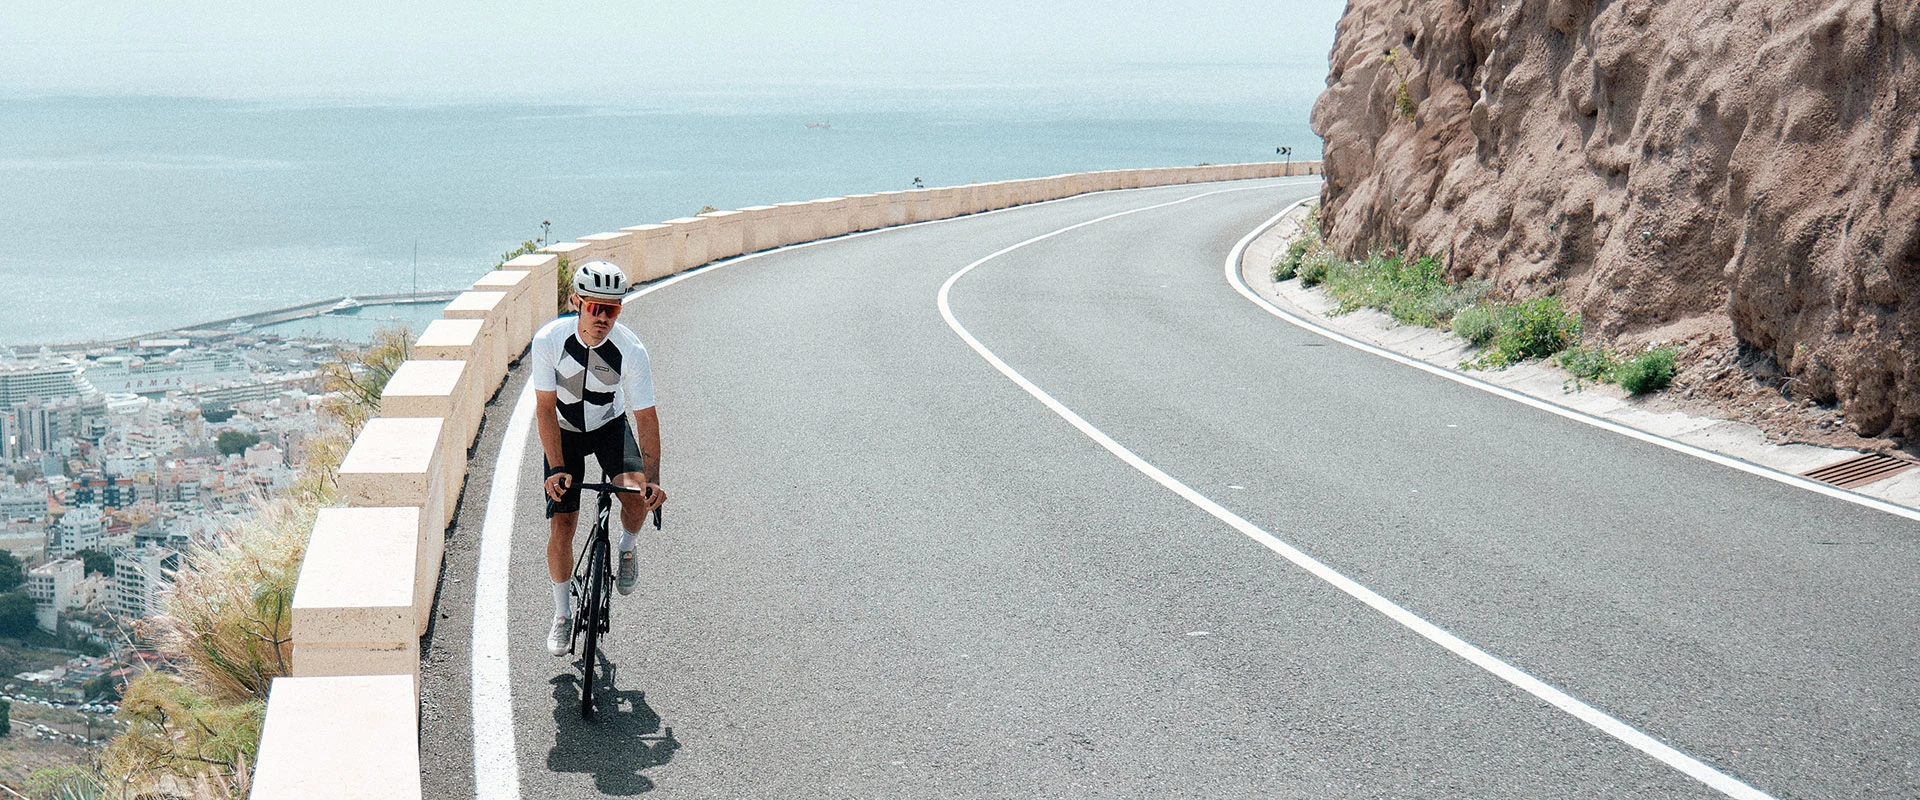
Road Bike Fit Guide
Fitting a road bike is all about power and aerodynamic efficiency. A slightly lower handlebar position helps reduce drag while maintaining comfort. Road bikes come in standard and numerical sizes but can feel quite different from model to model.
Mountain Bike Fit
When you’re fitting up for a mountain bike, focus on control and stability. Slightly wider handlebars, shorter reach and a more upright position help navigate technical terrain. Mountain bikes come in standard sizes that tend to correspond across different brands.
Triathlon Bike Fit
For triathletes, aerodynamics come front and center. TT bars, steep seat angles and a forward position help you stay fast and efficient.
Fitting Men’s vs Women’s Bikes
Historically, bike geometry has been based on average male proportions but everyone’s body is different. That’s why fit should focus on your unique measurements, not just your gender.
That said, women often have shorter torsos and longer legs relative to height. This can affect reach and standover height. A women's-specific frame might help, but it’s not the only solution:
Reach: Women may benefit from a shorter top tube or shorter stem to prevent feeling too stretched
Handlebar width: Narrower shoulders call for narrower bars to support stable, relaxed steering
Saddle shape: Women’s saddles are often wider for comfort
DIY Bike Fit vs A Professional Bike Fit
DIY adjustments are a great start, but a professional bike fit can fine-tune your setup for maximum comfort and performance.
Consider seeing a pro if:
You’re logging long distances or training competitively
You have recurring discomfort or injuries
You’ve just upgraded your bike
You want to maximize gains without sacrificing comfort
Pro Tip: Look for a qualified dynamic fit specialist with a background in biomechanics or physical therapy.
Dynamic vs Static Bike Fit: What’s Best?
Static Fit: Measures body dimensions to set your position while stationary. Great for basic setup.
Dynamic Fit: Involves assessing your movement on the bike in real time. Ideal for fine-tuning pedal stroke, knee tracking and overall biomechanics.
Final Tips for Getting the Most Out of Your Fit
Here are a few things to keep in mind when fitting a new bike:
Don’t rely on size charts alone - everyone is unique
Reassess your fit after injury or fitness changes
Consider a professional bike fitting after buying a new saddle, shoes or pedals
Small tweaks over time are better than massive changes all at once
Test, adjust and fine-tune
And lastly, choose a high-quality pair of bib shorts with the right chamois for improved saddle comfort and pressure distribution. Ill-fitting or worn-out shorts can shift your position on the bike, altering saddle height and even causing numbness or hot spots. The goal: clothing that moves with your body, supports your fit and enhances your ride.
Whether you're gearing up for your next big ride or rediscovering your cycling rhythm, fine-tuning your fit will help you ride smoother, stronger and longer.
Ready to make a long term investment in your performance? Explore performance-ready cycling gear built for endurance, comfort and speed.
FAQs: How to Fit a Bike
Still have questions about how a bike should fit? Find the answers to some frequently asked questions.
Can I do my own bike fit? Yes, you can do a basic bike fit at home using simple tools and your own measurements. Start with saddle height, handlebar reach and cleat position.
Is a bike fit worth the money? Yes, if you’re getting more serious about your performance. A professional bike fit reduces injury risk, boosts power transfer and improves comfort - especially on long or frequent rides. It's an investment in performance and longevity.
What is included in a bike fit? A comprehensive bike fit includes: saddle height, tilt and position, handlebar height, width and reach, cleat alignment and crank length, stack, reach and stem adjustments, real-time analysis of your pedal stroke and posture (for dynamic fits)
How often should I have a bike fit? Reassess your fit annually or whenever you experience discomfort, change bikes, recover from injury or improve your fitness significantly. Your position should evolve with your body and goals.
How do you know if a bike fits you? A well-fitted bike feels balanced and powerful. You should: Ride pain-free, maintain cadence comfortably, avoid numbness or pressure points, feel stable and efficient when pedaling
How do I measure myself for a bike fit? Measure: Inseam (to determine saddle height), torso and arm length (to gauge reach and stack), shoulder width (for handlebar size). Use these numbers as a starting point, then fine-tune your bike based on feel and flexibility.
What size bike should I get for my height? Use a bike size chart based on your height and inseam. For example: 5’6”–5’9”: 54–56 cm road frame, 5’10”–6’1”: 56–58 cm road frame. Still, personal proportions (like torso-to-leg ratio) matter, so test rides and measurements are key.
Should you be able to touch the ground when sitting on your bike? Not with both feet flat. When seated, your tiptoes should touch the ground. A saddle that’s too low can lead to inefficient pedaling and knee pain. Proper leg extension is more important than standing reach.
How far should a saddle be from the handlebars? This depends on your flexibility and riding style. Your elbows should have a slight bend when your hands are on the hoods or grips, and your back should form a natural curve - not hunched or hyperextended.
How do I know if my saddle is too far back? If your knees are behind the pedal axle when the cranks are horizontal, your saddle might be too far back. You may also feel stretched or lack power.
Latest Bike Insights